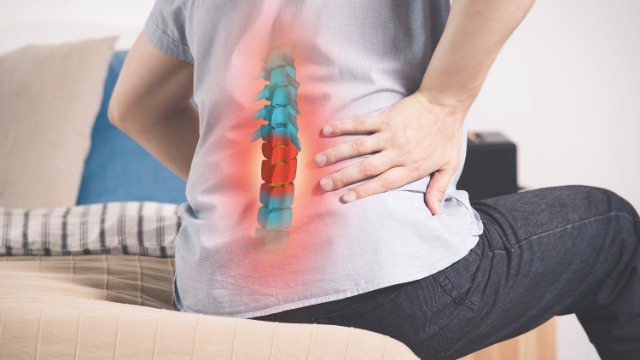
The spine is possibly the most problematic area of the body. From the base of the spine up to the upper back and neck, there are various ways in which pain can manifest and produce disability. Although pain is most common in the lower back, several issues may cause bothersome pain in the upper spine as well. The most common of these is a condition called myofascial pain syndrome, which is closely related to rhomboid trigger points and levator scapulae pain.
Fascia is thin, connective tissue that surrounds and connects every muscle in the body. Fasciae (plural of fascia) hold muscles together and allow them to stretch and contract smoothly, without creating any friction that can damage the muscles. This explains the root word âfasciaâ in myofascial pain syndrome, whereas âmyoâ refers to muscles the muscles that these fasciae connect.
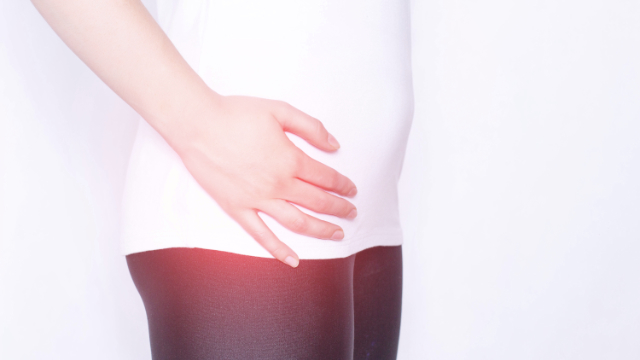
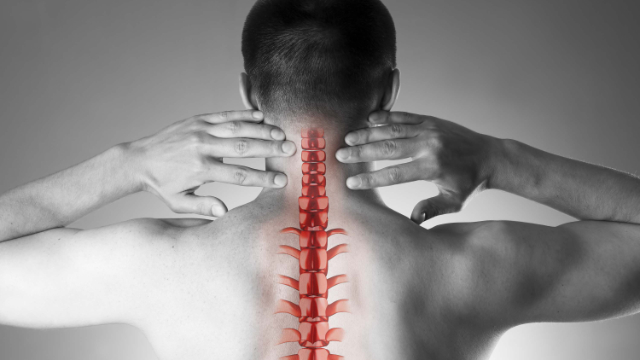
Common sites of myofascial pain
Myofascial pain involves triggers points, which are areas of tenderness and stiffness within muscles and fasciae that reduce range of motion. These trigger points are essentially muscle fibers that are stuck in contraction, which causes the muscle(s) to tighten and eventually prevents blood from flowing to the area. Trigger points feel like small bumps or knots when touched, and when enough of these occur in a certain area, the result is myofascial pain. Trigger pointsâand resulting myofascial painâcan develop in any muscle of the body but are most common in the upper back, shoulders, and neck, especially the following muscles:
- Trapezius: the trapezius is a large, broad muscle shaped like a triangle that extends from the base of the skull to the middle of the back; it helps give you the ability to tilt and turn your head and neck, shrug and stabilize your shoulders, and twist your arms; the upper trapezius is one of the most common sites for myofascial pain because it takes on a significant amount of pressure, especially when carrying items
- Levator scapulae: this is a long and slender pair of muscles shaped like straps that run from the top of the spine to the top edge of the shoulders; the main function of these muscles is assisting with the raising and rotating of your shoulder blade; they also stabilize this region
- Rhomboids: this is a pair of upper back muscles that run diagonally from the neck and chest vertebrae of the spine down to the back of the shoulder blades; the rhomboids attach the upper limbs to the shoulder blades and help to pull the shoulder blades together during contraction
Approximately 44 million Americans are affected by myofascial pain syndrome, and about 85% of people will experience it at some point in their lives. Middleâaged women who are not physically active appear to have the highest risk for myofascial pain syndrome. Experts are yet to determine why myofascial pain syndrome occurs, but itâs believed that injury or trauma to the spineâfrom physical activity or repetitive muscle strainâlikely plays a role. Other possible causes include consistently using poor posture, which can strain muscles, as well as lack of muscle activity or muscle weakness, stress, working in cold environment, and a pinched nerve.
Although symptoms vary from person to person, myofascial pain is usually described as a deep aching, a throbbing sensation, or tightness and stiffness, which occurs either at the trigger point or in a nearby area (referred pain). Patients will also report the presence of trigger points that cause pain when touchedâand sometimes without being touchedâtender or sore muscles, and/or weakness. Trigger points and dysfunction of the muscles described above can lead to pain and reduced range of motion neck and shoulders as well.
Red flags
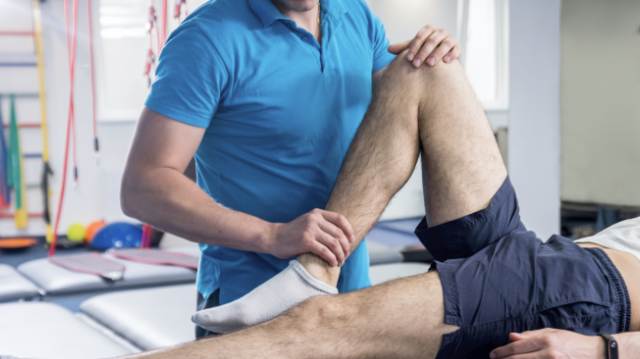
If you notice these symptoms, itâs best to see a physical therapist sooner rather than later, as they can effectively treat myofascial pain with a comprehensive and individualized treatment program. But there are also certain signs that may suggest something else is afoot that may require treatment from another medical professional. These red flags include the following:
- History of fever, chills, or recent illness (could suggest the presence of an infection)
- Other signs of infection include pus or fluid, redness, fever, blisters, and worsening swelling
- New episode of low back pain under 18 years or over 50 years
- For those under 18 years, pain may suggest a congenital defect, spondylolysis, or vertebral fracture
- For those over 50 years, pain may suggest a tumor or infection
- Bowel or bladder dysfunction (associated with a condition called cauda equina syndrome)
- Extreme bruising, swelling, or throbbing pain
- Significant bone pain (may suggest a bone tumor)
- Persistent swelling and pain that develops without a recent injury
- Compromised immune system
- Recent surgery or spinal injection
In our next post, weâll describe 4 exercises that will help to reduce your risk for experiencing myofascial pain syndrome.