For persistent back pain, physical therapy is your best choice

Most cases of low back pain are short-lived—or acute—and only last for a few weeks before gradually subsiding. Getting regular physical activity and performing targeted strengthening exercises will further facilitate the healing process, and many patients are able to experience significant improvements without any professional intervention.

But for others, the pain does not improve over time, even after making lifestyle changes and increasing physical activity levels. Persistent low back pain that lasts for more than three months is categorized as a “chronic,” which usually means that additional strategies are needed. There are also many patients that aren’t comfortable performing exercises at home without guidance and who may require a more hands-on approach to managing their condition.

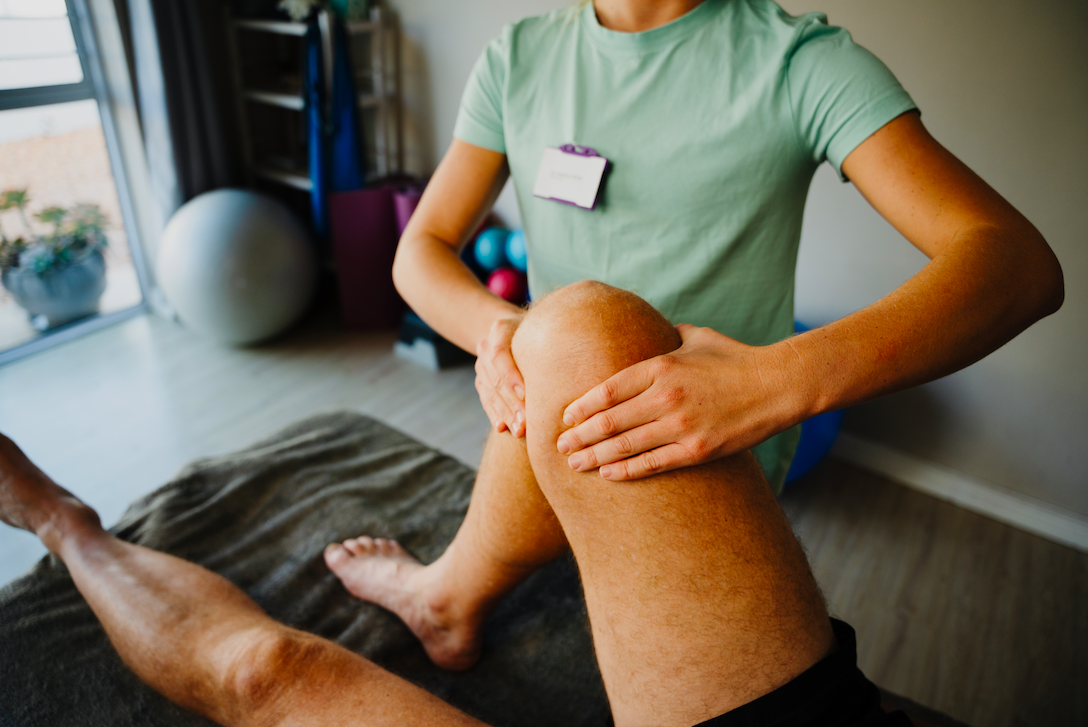
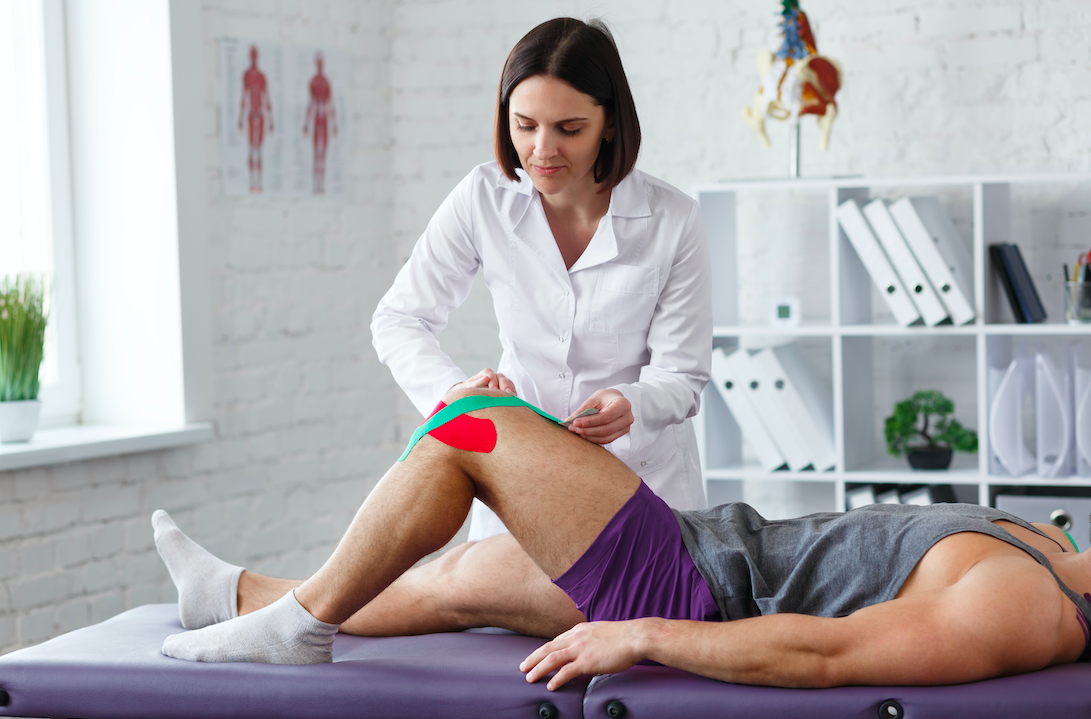
For anyone that falls into either of these groups, a more structured treatment program is required, and physical therapists are the professionals best equipped to provide this in a safe and effective manner. Physical therapy uses a variety of movement-based interventions for low back patients, some of which the patient executes independently with guidance, and others that the therapist carefully performs. The ultimate goal of each component of treatment is to teach patients how to move better in order to reduce their pain levels, increase function, and prevent further recurrence.

Seeing a physical therapist as the first point of care for low back pain can also help patients avoid other expensive or unnecessary interventions in the future. Research has shown that individuals who undergo early physical therapy are less likely to have surgery or injections for their pain, and it has also been found to reduce costs, healthcare use, opioid use, and improve health care efficiency.

Each low back pain treatment program is tailored specifically to the patient’s needs, abilities, goals, and preferences, but there are certain features that most share in common. A typical treatment program for low back pain will consist of the following:

  • Passive interventions (performed by the therapist)
    • Ice and/or heat therapy
    • Ultrasound
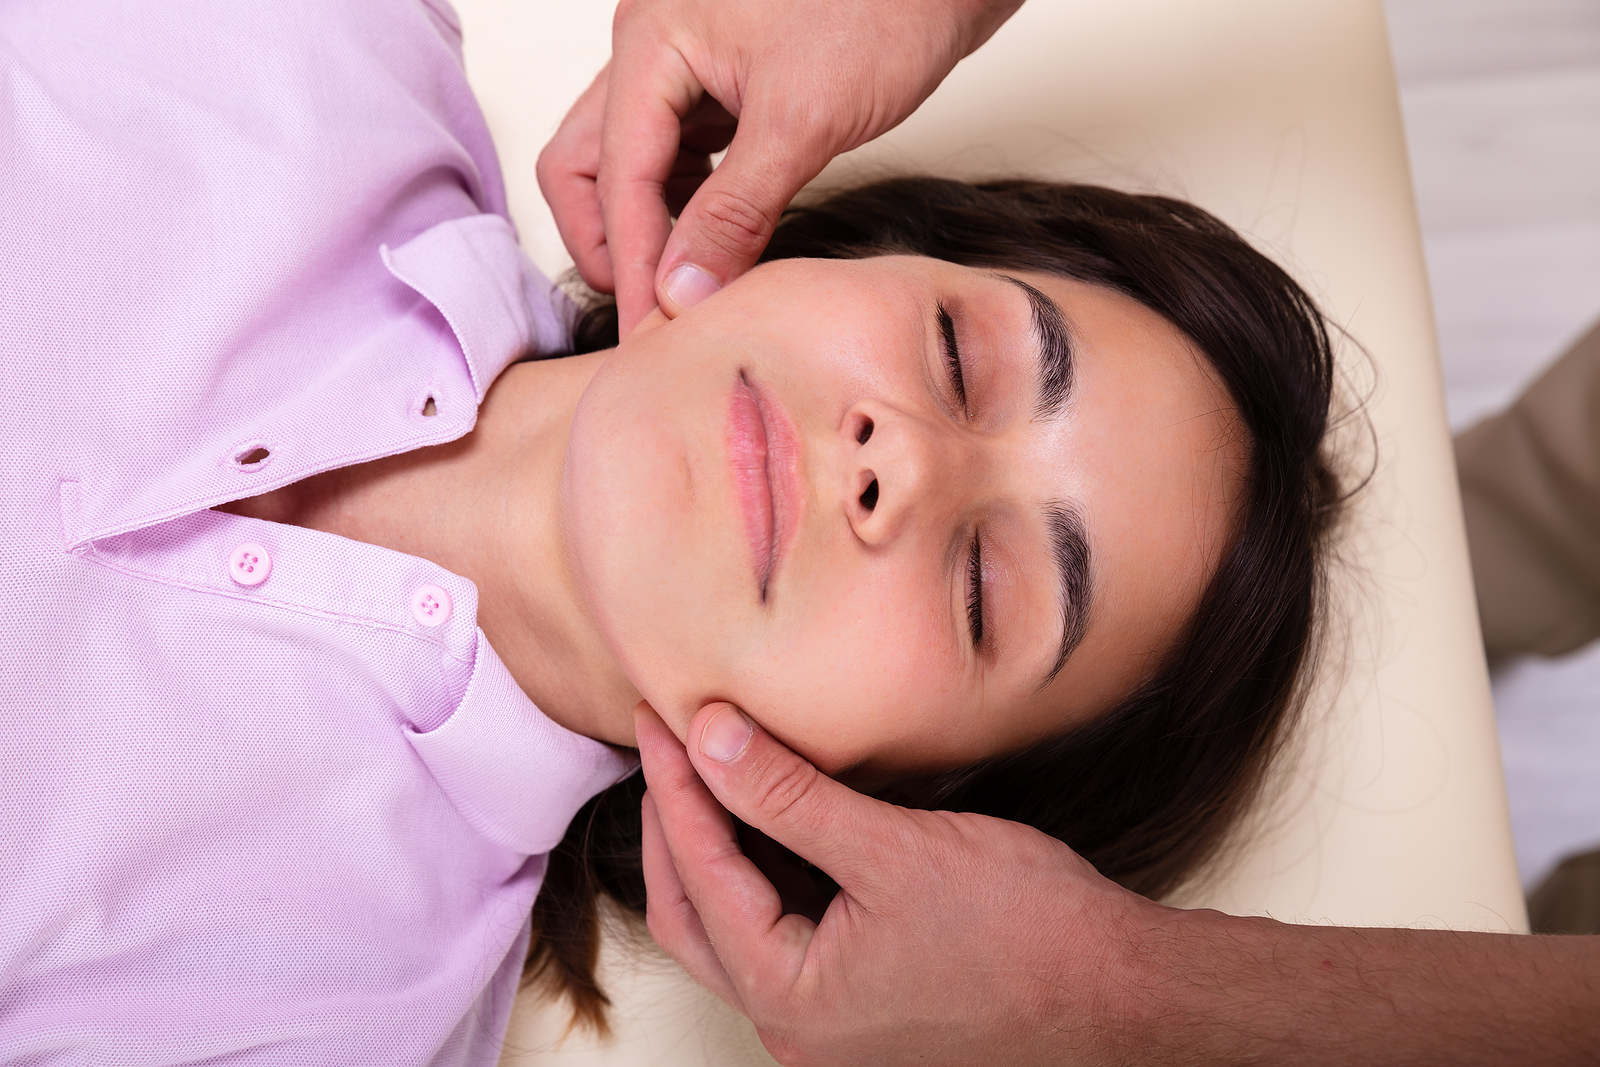
    • Manual (hands-on) therapy
  • Active physical therapy (performed by the patient)
    • Stretching exercises for the buttocks, back, spine and hamstrings are helpful for keeping joints flexible and should be done twice a day
    • Strengthening exercises are needed to build the muscles in the back and core, and should be done for 15-20 minutes every other day
    • Low-impact aerobic exercises like walking, biking and swimming are also important and should be done for 30-40 minutes, three times a week
  • Education: physical therapists will also provide tips and guidance on how to improve your posture and make other necessary changes that may be contributing to your pain

Low back pain is one of the most common conditions in all of healthcare, and it often becomes a burden for the countless individuals who are impacted by it. But as you can see, there are a number of ways you can take control of your situation and make changes that will greatly benefit you. If you are suffering from back pain give us a call and together we will build a personal plan that addresses your individual need.

Three good strengthening exercises to support your lower back

As we explored in our last newsletter, low back pain is overwhelmingly common, with tens of millions of Americans impacted by symptoms at this very moment. Each person’s situation is unique and the severity of these individual’s back pain varies, but most frequently experience some degree of disability or limitation that interferes with their normal way of life.

One of the many consequences of having low back pain is that it often reduces physical activity levels. Whether it’s not accepting an invitation to play a pickup game of basketball or avoiding yard work that involves lots of bending and twisting, a sizable portion of low back pain patients will notice a decrease in movement because of their condition. Unfortunately, moving less can actually increase pain levels, making it even more difficult to move and initiating a challenging cycle of pain and inactivity.

On the flip side, moving more and staying active is one of the best things you can do for your pain. Although it might seem sensible to avoid any motions that could lead to pain, the truth is that regular physical activity is crucial because it helps to keep your muscles strong and joints flexible. Exercise will also increase blood flow throughout the body and specifically to the lower back area, which may reduce stiffness and speed up the healing process.

Activating the lower back and core muscles can help with support and stability for the spine, which in effect leads to less strain and less pain. With this in mind, we present the three best strengthening exercises for your low back and hip muscles.

NOTE: before you try these or any other exercise program, please consult with your physical therapist or physician.

  1. Glute bridge (bridging)
    • In addition to the lower back, this exercise strengthens the hamstrings, gluteal muscles (buttocks), and hip muscles; to perform this exercise:
      • Lie with your back to the floor, knees bent with only your feet on the floor
      • Dig your heels into the floor a bit and squeeze down on your gluteal muscles
      • Lift your hips up until they are 6–8 inches off the ground and hold this position for about five seconds
      • Slowly bring your hips back to the floor and give yourself about 10 seconds of rest
      • Repeat 8–12 times
  2. The Bird Dog
    • Bird Dog is a great way to learn to stabilize the low back during movements of the arms and legs; to perform:
    • Get on your hands and knees and tighten your abdominal muscles
    • With one leg, lift and extend it behind you while keeping your hips level; lift and hold the alternate arm out in front of you; hold for 5 seconds
    • Switch to the other leg and arm. Repeat 8–12 times per side.
    • For an added challenge, try lengthening the time you hold each lift
  3. Lying lateral leg lift
    • This exercise strengthens the hip abductor muscles, which support the pelvis and can help reduce strain on the back; keeping these muscles strong can also help you maintain balance and improve stability; to perform
    • Lie on one side with your legs together and lower leg slightly bent
    • Bring your bellybutton into your spine to engage the core muscles
    • Raise your top leg about 18 inches, keeping it straight and extended; hold the position for 5 seconds
    • Repeat 10 times
    • Turn onto the other side of the body and repeat, lifting the other leg
    • Perform 2 sets on each side

In our next newsletter, we’ll look into the role that physical therapy can play when low back pain persists after performing these exercises and for patients that require a more hands–on approach to their condition.

If your back hurts, a diagnosis may not be the best path

Low back pain is jarringly common. About one-half of all working Americans will experience symptoms at least once every year, and roughly 31 million are affected by it at any given point in time. So if you find it appropriate to place yourself in this category, you’d have an abundance in company.

Dealing with low back pain can be troublesome and place a strain on everyday life. Typical movements like bending over to pick something off the ground or twisting your torso when looking to the side might suddenly give you pause and make you less mobile in the process. This development naturally leads to frustration and often shifts to a focus on one main question: “what’s causing this pain?”

As a result, many patients with low back pain start to place a particularly strong—and sometimes unhealthy—emphasis on obtaining a diagnosis. They usually believe that doing so will clearly explain why they are in pain and will allow the right treatments to be performed. Sadly, searching for a diagnosis for low back pain is complicated and often does not lead to the outcomes that most patients hope for. And in many cases, it can do more harm than good.

Why ‘abnormal’ is a relative term

In their hunt for a diagnosis, many patients will decide to have an imaging test performed, which include X-rays, MRIs, and CT scans. These types of tests serve an integral role in diagnosing a plethora of conditions throughout the body, but when it comes to low back pain, their usefulness is not as certain. The primary issue is that an imaging test should serve as only one component of reaching a diagnosis, in addition to a detailed patient interview and thorough physical examination. But many patients—and some doctors—rely too heavily on the results of the test instead.

In addition, the results from these tests are not always as clear-cut as one might assume. Many individuals who don’t have any low back pain symptoms will have “abnormal” findings on an imaging test, while many of those with symptoms will test results that appear to be completely “normal.” To put matters in perspective, below is a brief summary of the findings from an important study that reviewed the MRIs and CT scans of more than 3,000 individuals with no signs of back pain:

  • 20-year-olds: 37% had “disc degeneration” and 30% had “disc bulging”
  • 50-year-olds: 80% had “disc degeneration” and 60% had “disc bulging”
  • 80-year-olds: 96% had “disc degeneration” and 84% had “disc bulging”

These results show that disc degeneration and disc bulging are extremely common in most people without back pain, and the likelihood of having these findings increases significantly with age. When not explained properly and interpreted in the context of an examination and other factors, a patient with back pain may incorrectly believe that these “abnormal” findings are the same thing as a diagnosis, when they may instead be a sign of the natural aging process. The words “bulging” and “degeneration” also tend to create scary images of the spine that could further alarm patients and push them towards undergoing interventions like surgery to fix the problem, even though their results may have nothing to do with their pain.

It’s important to point out that there are several diagnoses that are extremely important and require careful medical intervention, some of which an imaging test will assist with. Spinal tumors, cauda equina syndrome, spinal infection, abdominal aneurysm, and ankylosing spondylitis are among the conditions that typically lead to severe symptoms, but none of these are very common. Two other signs that something more serious could be present are incontinence and or numbness around the groin and buttocks, and any accident that could have fractured the spine. If either of these signs accompany back pain, it’s imperative that you seek out immediate medical attention.

But in the vast majority of cases, patients with low back pain should focus more on addressing their condition with a movement-based strategy and less on obtaining a diagnosis, which is not the silver bullet they might be expecting. In our next newsletter, we’ll provide you with some strengthening exercises that you can perform to alleviate your low back pain on your own.

Your back is built for durability and flexibility

The anatomy of your spine is rather remarkable. Its complex design includes a combination of strong bones, large muscles, and flexible ligaments and tendons, which are all interconnected in a manner that provides both extreme durability and flexibility. This means the spine is strong and sturdy—so it can support the rest of the body and protect the structures within it—but is also highly flexible, allowing for mobility in several directions. These two characteristics are defining features of the spine, and they show that it’s far more resilient than one might think.

Below, we break down the primary structures of the spine—particularly in the lower spine—responsible for these characteristics:

Vertebrae

  • The spine is made up of 33 bones called vertebrae (singular vertebra), which are stacked together and interlocked to form the spinal column
  • Only the top 24 bones are moveable—those of the sacrum and coccyx at the base of the spine are fused—and these vertebrae are numbered and divided into three groups:
    • Cervical (upper back) region
    • Thoracic (mid-back) region
    • Lumbar (lower back) region
  • The lumbar region consists of five vertebrae (L1-L5), which are much larger than the bones above it and progressively increase in size going downwards; the function of these bones is to support the weight of the body, and their size allows them to absorb the stress of lifting and carrying heavy objects

Facet joints

  • These vertebrae are connected in the back of the spine with a small pair of joints called facet joints
  • They add to the spine’s stability and allow the spine to move in several directions
  • The facet joints of the lumbar spine are more flexible than those of the cervical and thoracic spine, and they make side—to—side movements easier to perform

Intervertebral discs

  • In between each vertebra is a structure called an intervertebral disc
  • These discs consist of a tough outer portion (annulus fibrosus) made up of collagen fibers that surrounds a soft inner core (nucleus pulposus), which is filled with a jelly-like substance
  • The purpose of the discs is to absorb shock, hold the vertebrae together and prevent them from rubbing against one another during movement

Muscles

The lower back also consists of a large and complex group of muscles that work together to support the spine, help the body remain upright, and allow the trunk and body to move, twist, and bend in several directions. The three main types of muscles in the lower spine that help with these functions are the following:

  • Extensor muscles: these muscles attach to the back of the spine and allow you to stand and lift objects; they include the erector spinae, which is a large pair of muscles that that helps to hold up the spine
  • Flexor muscles: these muscles attach to the front of the spine and allow you to bend forward, flex, lift, and arch the lower back
  • Oblique muscles: these muscles attach to the side of the spine and help to rotate the spine and maintain proper posture

Collectively, these structures help to make the spine one of the sturdiest structures in the body, while also permitting an extensive range of motion. Unfortunately, pain is the lower back is extremely common, but as we’ll explain in our next newsletter it usually doesn’t mean there is necessarily anything wrong with the spine.

See a physical therapist for any foot and ankle pain

Some foot conditions come on gradually, like plantar fasciitis, which starts as a stabbing pain in the heel and then often grows more severe over time. Others are more sudden, like an ankle sprain or broken toe, both of which lead to immediate pain and make it difficult to put any pressure on the injured leg. Regardless of the manner in which these symptoms develop, the end result is often the same: an inability to get around and function normally. For active individuals, it also means participating in your respective sport at a lower level or not being able to participate at all.

Everyone responds to pain differently, as some will seek out help immediately, while others delay action until things get worse. One of the good things about foot and ankle injuries is that they are all very treatable, and surgery is not needed in the majority of cases; however, waiting too long to address these conditions is also a dangerous approach. Continuing to exercise despite pain will often add to the damage in the structures of your ankle and feet, which will exacerbate your symptoms and increase the risk for future injuries.

This is why it’s best to take proactive steps any time you’re dealing with foot or ankle pain. For traumatic injuries like ankle sprains, we strongly recommend the RICE (Rest, Ice, Compression, Elevation) protocol in the first 24-72 hours to relieve painful symptoms and reduce your risk for further injury during this time. You should also massage the painful area to improve circulation and reduce soreness, and consider adding shoe inserts and replacing old or worn out shoes, which may contribute to overuse injuries like plantar fasciitis and Achilles tendinitis.

Visit a physical therapist when pain persists

If you’ve taken these measures and pain continues to bother you, the next move you should make is to see a physical therapist as soon as you can. Physical therapists are movement experts that will focus on identifying the source of your pain with a comprehensive evaluation and detailed interview of your injury history. From there, they will design an individualized treatment program to address the impairments identified, which is always based on your needs, preferences, abilities, and goals. A typical rehabilitation plan for a foot or ankle injury includes the following:

  • Pain-relieving modalities: ice/heat, ultrasound, and electrical stimulation are often used to reduce pain levels
  • Manual therapy: this set of hands-on techniques involves mobilizing and manipulating muscles and joints in specific directions and at different speeds to help you regain lost movement
  • Strengthening exercises: these exercises are designed to build back strength that may have been lost in the muscles surrounding the injured area due to reduced activity levels; common strengthening exercises for foot and ankle injuries include calf raises, doming, and scissor hops
  • Stretching exercises: stretching out sore, stiff, or painful joints will increase flexibility levels and result in improved function over time; common stretching exercises for foot and ankle injuries include the plantar fascia stretch, towel stretch, and ankle inversion and eversion exercises
  • Functional training: if you’re involved in sports, your physical therapist will design specific interventions that mimic the motions and movements involved in that activity, so you’ll be better prepared to handle the demands once you return

So, if you’re dealing with an injury or lingering pain that won’t seem to improve, contact us today to set up an appointment and get started on your path to recover.

Three best exercises to prevent ankle and foot-related injuries

There’s no getting around it. In order to move from point A to point B, you need healthy feet and ankles. While you may not realize how crucial this is to your movements under normal circumstances, your perspective will likely change any time pain is introduced to the equation.

Injuries to the ankles and feet are common in all age groups, as ankle sprains alone have been found to account for up to 45% of all athletic injuries. Active individuals are generally at a higher risk due to the repetitive strain that they place on this region, with many injuries occurring gradually over time from the accumulation of minor damage to ligaments, tendons, and other structures. Regardless of the cause, injuries involving the ankle and/or foot typically result in challenges with walking, climbing stairs, and many other movements that are necessary for everyday life. For many patients with severe issues, every step taken leads to significant pain, which means even basic tasks can be met with extreme difficulty.

Fortunately, there are several measures you can take to reduce your risk for foot and ankle injuries. One of the most effective steps is to maintain adequate ankle and foot mobility, which is primarily accomplished by performing specific exercises on a regular basis. Below are three of the best exercises for the ankle and foot to improve mobility and prevent injury:

Three helpful ankle and foot mobility exercises

  1. Ankle alphabet
    • Sit on the ground or in a chair with one leg raised and your foot outstretched
    • Trace out each letter of the alphabet in the air, using your big toe as the “pencil”
    • Perform one set at least once per day
  2. Ankle passive range of motion
    • Grasp your lower leg just above the ankle with one hand
    • Grasp your foot with the opposite hand, using it to flex and extend the foot and ankle
    • Hold the stretch for 10 seconds
    • Perform one set of 10 repetitions at least once per day
  3. Gastrocnemius standing stretch
    • Stand facing a wall
    • Place one foot behind the other and make sure both toes are pointing forward
    • Slowly lean into the wall until the stretch is felt while keeping your heel on the ground
    • Hold the stretch for 30 seconds
    • Perform one set of two repetitions at least once per day
    • Read our next newsletter for a breakdown the role that physical therapy can play in rehabilitating these types of injuries.

Understanding your risk for the most common foot and ankle injuries

All regions of the body are vulnerable to a unique set of injuries, depending on how the structures in that particular area are affected by common activities. The likelihood of injury therefore varies from one location to the next, with higher activity levels generally corresponding with a greater injury risk throughout the entire body. But there are also certain “hotspots” that tend to be involved in injury far more frequently than others.

One of these hotspot areas is the feet and ankles, which often sustain damage because of the heavy loads they have to withstand from the rest of the body. There are several structures and mechanisms in place that increase their durability and prepare them for these forces, but like every other body part, they have a breaking point. When pushed past this point, the result is often a wide range of potential injuries.

Below are some of the most common injuries that occur in the feet and ankles:

  • Ankle sprain: ankle sprains occur when the ligaments surrounding the ankle are stretched beyond their limit in a forceful motion; these are the most common injuries in all of sports, and about half of all ankle sprains are related to physical activity; nearly 25,000 people sprain their ankle every day, and they typically lead to pain, swelling, and an inability to put pressure on the ankle
  • Plantar fasciitis: generally considered to be the most common cause of heel pain in adults, this condition results from inflammation of the plantar fascia; when this tissue is overstrained from repeated activity—like running—it becomes inflamed, which leads to a stabbing pain near the heel that is most noticeable upon waking up
  • Achilles tendinitis: another overuse injury due to inflammation of the Achilles tendon; it’s most common in runners who do lots of speed training, uphill running, or rapidly increase their training intensity or duration, and it leads to heel pain that usually comes on gradually as a mild ache in the back of the leg or above the heel
  • Stress fractures: these injuries are the result of small cracks or severe bruising caused by repetitive strain to the foot; they are common in both children and adults, and are most frequently seen when a person changes their usual exercise regimen with a sudden increase of activity or a change in workout surface
  • Turf toe: this is a sprain of the ligaments surrounding the big toe when it’s bent back too far (hyperextended), which is common in football players; it can occur from a sudden, forceful movement or repeated hyperextensions over a period of time, and leads to pain, swelling, and limited movement of the big toe
  • Sever’s disease: this is an overuse injury that results from inflammation of the growth plate (an area of growing tissue near the ends of bones in children) in the heel; it’s caused by repetitive stress to the heel and typically occurs during growth spurts; symptoms include pain and tenderness underneath the heel. Be sure to read our newsletter next week for some useful exercises that will help you maintain mobility and reduce your risk for foot and ankle injuries.

Be sure to read our newsletter next week for some useful exercises that will help you maintain mobility and reduce your risk for foot and ankle injuries.

The complexity of the ankle & foot is necessary for our mobility

Your feet and ankles are built for durability. They are designed this way to account for the significant amount of pressure they withstand every time you perform an activity that involves standing. When running, for example, each foot takes on a force that can be as much as three times your body weight. As a result, the foot and ankle have an anatomy that is both beautiful and complex, and this complexity plays a major role allowing you to complete the movements necessary to navigate the world.

The anatomy of the ankle and foot are connected and very closely related. The ankle joint is made up of three bones:

  • Tibia: the shinbone, the major bone of the lower leg, which is responsible for bearing most of the body’s weight
  • Fibula: the other bone of the lower leg, which is thinner than the tibia and sits behind it; the fibula helps to stabilize the ankle and supports the surrounding muscles
  • Talus: a small bone at the top of the foot that helps transfer weight and pressure forces across the ankle joint; the top of the talus is shaped like a dome and is completely covered by cartilage, which is a tough, rubbery tissue that allows the ankle to move smoothly

The talus is one of the 26 bones that make up the foot. On top of this basic structure, each foot also consists of 33 joints and more than 100 muscles, tendons, and ligaments. Tendons are cords of strong tissue that connect muscles to bones, with each muscle being connected to one or more bones of the foot by a tendon. Ligaments are flexible bands of tissue that connect bones to one another. In the ankle, they bind joints together and provide stability by limiting side–to–side movement. They are elastic structures, which means they can stretch within their limits and then return to their normal position.

Some of the other structures of the foot and ankle that are important for their movement and function include the following:

  • Plantar fascia: a thick, connective band of soft tissue that stretches from the heel to the base of your toes at the ball of the foot; this strong ligament connects the bones in these two regions and is designed to absorb the significant amount of stress placed on the feet, and it can withstand a great deal of force
  • Achilles tendon: this tendon connects the two calf muscles to the back of the heel bone, and it provides support and stability for the ankle when performing many common movements like walking and running; most of the force generated when pushing the toe off the ground during a running stride is transmitted to the Achilles, which can be as much as three times your body weight
  • Two longitudinal arches: these arches span the length of the foot from the heel bone to behind the ball of the foot
    • Medial longitudinal arch: runs across the inside of the foot
    • Lateral longitudinal arch: runs across the outside of the foot
  • One transverse arch: spans the width of the foot

These three arches are formed by the tarsus and the metatarsal bones in the middle of the foot, and their shape allows them to act like a spring for the rest of the body. Any time you are on your feet, the arches bear your body weight and absorb the shock placed on them when you move. This force is then sent back to the rest of the body during actions like running and jumping. The arches are also quite flexible, which helps the feet appropriately respond to just about any type of movement.

Read our next newsletter for a look at how these structures are involved in some of the most common foot and ankle injuries.

5 tips to simplify your life with knee pain

In our last newsletter, we showed you why regular movement is key to overcoming knee pain and presented some of the best knee-strengthening exercises that will help you work towards this goal. These types of exercises can be extremely effective for anyone dealing with knee pain, but in some cases, additional strategies are needed just to help individuals stay mobile and navigate their surroundings.

Patients with severe knee pain and those who are recovering from surgeries like ACL reconstruction or knee joint replacement may be impaired to a point where basic activities become extremely difficult. These tasks can be even more challenging for older adults with balance issues who have to contend with several limitations to their mobility. Assistive devices like canes, crutches, and walkers may therefore be recommended in these situations to compensate for any limitations these patients may be dealing with.

There are right and wrong ways to use assistive devices, and using them correctly will result in less pain and a reduced risk for future injury. With this in mind, we offer these tips to help you better handle your knee pain:

5 pieces of advice for knee pain

  1. Up with the good…
    • It’s important to walk up and down stairs in a particular way if you have severe knee pain
    • When going up stairs, step with the good (non-injured) leg first while holding onto the railing
    • Once that foot is on the stair, step up with the bad (injured) leg
    • This allows the non-injured leg to do most of the work to push the body up the stair while leaving minimal work for the injured leg
  2. …down with the bad
    • When coming down stairs, step with the bad leg first while holding onto the railing
    • Once that foot is on the stair, step down with the good leg
    • This is done because the back (good) leg is the one doing most of the work when walking down stairs
  3. Make sure your chair is at the right height
    • Sitting in a chair that is too high or too low can put your legs in a compromised position and make your knee pain worse
    • In a sitting position, your feet should be flat on the floor or a footrest and your knees should be at or slightly below the level of your hips
    • Your knees should be bent at an angle of 90-130 degrees
    • If your chair height does not allow you to sit in this position, switch to a chair that does or adjust the height of your chair if possible
  4. Use the correct hand to hold your cane
    • Many patients do not hold their cane in the correct hand, which can lead to unnecessary strain on their injured knee
    • The cane should always be held in the hand opposite of the painful side
      • This means if you had surgery on your left knee, hold your cane in the right hand and advance it forward when the left leg steps forward
    • This also applies to stairs, as you should walk up with the cane and the good leg, and down with the cane and the bad leg
  5. Properly align your body with your walker
    • If you are using a front wheel walker, be sure to keep the front of your body in line with the back two posts of the walker
    • Advance the walker a few inches in front of you first, and make sure all tips and wheels are touching the ground before taking a step
    • Step forward with your bad leg first, then step forward with your good leg, placing it in front of your lead foot

It’s imperative that these tasks are performed correctly to help you avoid further knee pain or injury, and a physical therapist can provide the additional guidance needed to give you confidence that you’re doing them the right way. Contact us today to learn more and schedule an appointment.

Disclaimer – This article and associated images is for educational purposes only. They are not meant to be a substitute for physical therapy or medical care. Please consult with your physical therapist and/or doctor before you start this or any other exercise program.

4 strengthening exercises to help you bounce back from knee pain

Knee pain has a way of reminding patients that it’s there throughout most of the day. For many individuals with this type of pain, it’s the first thing they notice upon getting out of bed in the morning, and it is often felt throughout many daily activities—like walking up stairs, getting in and out of a car, and bending down to pick up dropped items—until bedtime.

Some patients may respond to knee pain with what they consider to be a logical solution: keep knee movements down to a minimum to avoid any further pain and aggravation. This approach may appear to make sense, but the truth is that it will actually do more harm than good.

Limiting your knee movement will mean less overall mobility, and with that comes reduced flexibility and strength of the leg. This will in turn lead to an increased injury risk and additional problems down the road if the behavior is continued. Instead, the goal should be to focus on keeping the knee mobile and increasing the strength of the muscles that surround the knee, particularly the quadriceps (front of the thigh), hamstrings (back of the thigh), and the gastrocnemius (one of the calf muscles). Strengthening these muscles will lead to better support and stability of the knee joint, which is fundamental for overcoming knee pain. We recommend the following exercises to accomplish this:

The 4 best knee-strengthening exercises for pain

Disclaimer – This article and associated images is for educational purposes only. They are not meant to be a substitute for physical therapy or medical care. Please consult with your physical therapist and/or doctor before you start this or any other exercise program.

  1. Wall Sit
    • Start with your back against a wall with your feet shoulder width apart, and about 2 feet from the wall
    • Engage your abdominal muscles and slowly slide your back down the wall until your thighs are parallel to the ground
    • Adjust your feet so your knees are directly above your ankles
    • Keep your back flat against the wall
    • Hold the position for 20-60 seconds
    • Slide slowly back up the wall to a standing position
    • Rest 30 seconds and repeat the exercise three times
    • Increase your hold time by five seconds as you increase your strength.
  2. Bridge Exercise
    • Lie on your back with your hands at your sides, knees bent, and feet flat on the floor under your knees
    • Tighten your abs and buttocks by pushing your low back into the ground
    • Raise your hips to create a straight line from your knees to shoulders
    • Squeeze your core and pull your belly button back toward your spine
    • Hold for 20-30 seconds, then return to your starting position
    • Complete at least 10 reps
  3. Single-leg Heel Raise
    • While standing, use a sturdy counter or chair for balance
    • Lift one foot and stand with your weight on the other foot
    • Rise up on your toes, then lower back onto your heel
    • Repeat 10 times, for 3 sets
    • To make the exercise easier, perform it with both feet
    • To make the exercise more difficult, perform it on the edge of a step or ledge with one or both feet
  4. Partial Lunge
    • While standing, step forward to about three-quarters of your full stride; this is your starting position
    • Put most of your bodyweight on the leg in front
    • Lower your body until your front thigh is almost parallel to the floor
      • If you lose balance before your thigh gets to this position, return to the starting position at any time
    • Keep your front knee aligned over the first and second toes, while the back can be bent at the knee or kept straight Repeat 10 times, for 3 sets

A physical therapist can help ensure that you’re performing these exercises correctly and provide you with additional knee-strengthening exercises to address your pain. Contact us to learn more or schedule an appointment.

In our next newsletter, we’ll provide some tips to help simplify your life with knee pain so you can get around more easily.